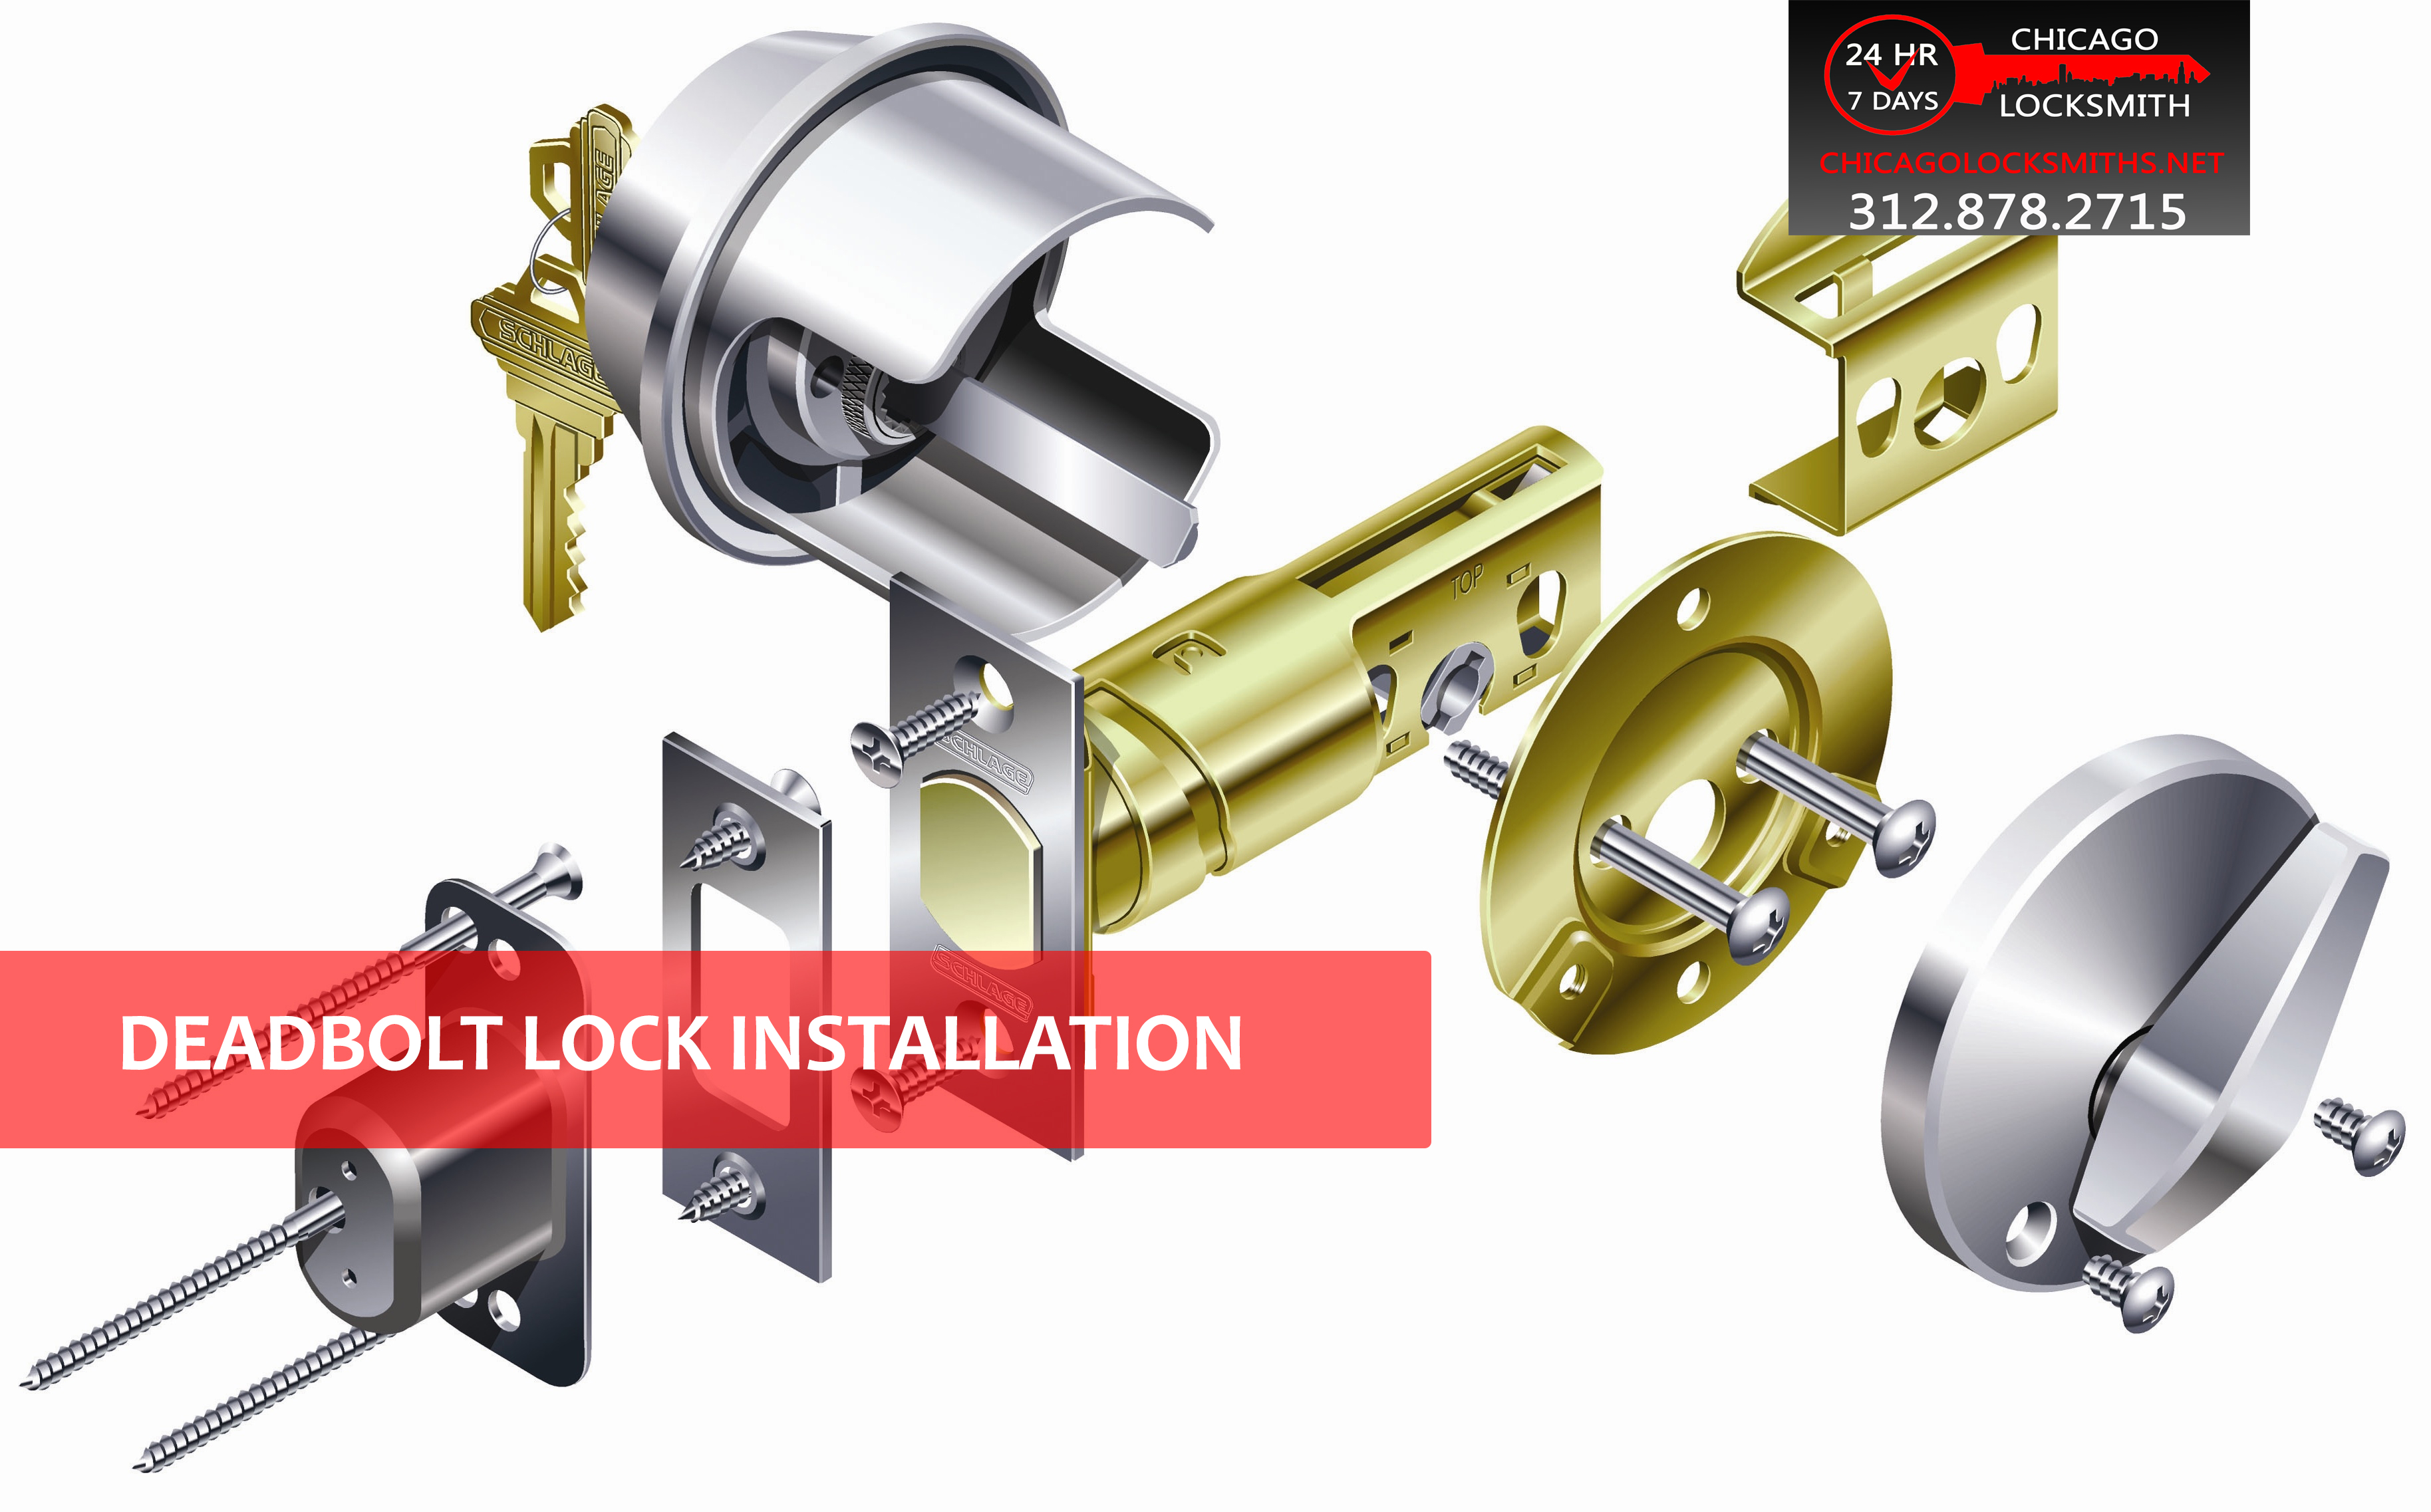
A deadbolt lock is one of the most effective and easy ways to add more security to your home and achieve peace of mind. Installing a deadbolt for the first time can seem difficult and even a bit confusing. Once you get the hang of it, you will find that it truly is the easiest way to enhance your home security. Follow these simple installation steps to install your new deadbolt.
Determine the Setback of the Deadbolt
A setback is the location of a deadbolt on a door frame, in relation to the standard door lock. Most people place deadbolts roughly six inches above the standard lock. Measure and mark where you will place your new deadbolt.
Drill Holes for the Deadbolt
Drill a hole that is roughly 1 1/2 inches wide over the area that you marked. A hole saw may be used to do this. After you have drilled the hole, check and see if it reached the other side of the door. If not, you will need to use a bit to drill through the other side of the door.
After drilling the hole through the door, you will need to drill another hole into the center of the door’s edge. Use a 7/8 inch spade bit to do this. Drill an additional 3/8 inch space near the backside of it.
Secure the Deadbolt
Before attaching the deadbolt, secure the bolt inside the hole located in the edge of the door. Mount the plate with two screws. Carefully insert the deadbolt cylinders, ensuring that they are correctly placed. Secure the driver bars with screws. Drill two 7/8 inch holes that are roughly 1 inch deep on the doorjamb. Make sure it is flush with the center of the bolt location. Attach the deadbolt plate in place using screws.
Attaching a deadbolt properly is not difficult, but does require a few tools. Make sure that you have the proper equipment prior to attempting to install a new deadbolt. Take your time with the installation, and make sure that the holes are even and chiseled. This will ensure that your new deadbolt has the best possible fit and will work properly.

